All Categories
- Aesthetic Presets
- Cinematic Presets
- Portraits Presets
- Bright & Airy Presets
- Wedding Presets
- Travel Presets
- Film Presets
- Vintage Presets
- Beginners Presets
- Black & White Presets
- Food Presets
- Instagram Presets
- Mobile Presets
- Moody Presets
- Nature Presets
- Product Presets
- Professional Presets
- Real Estate Presets
- Sport Presets
- Summer Presets
- Wildlife Presets
- Winter Presets

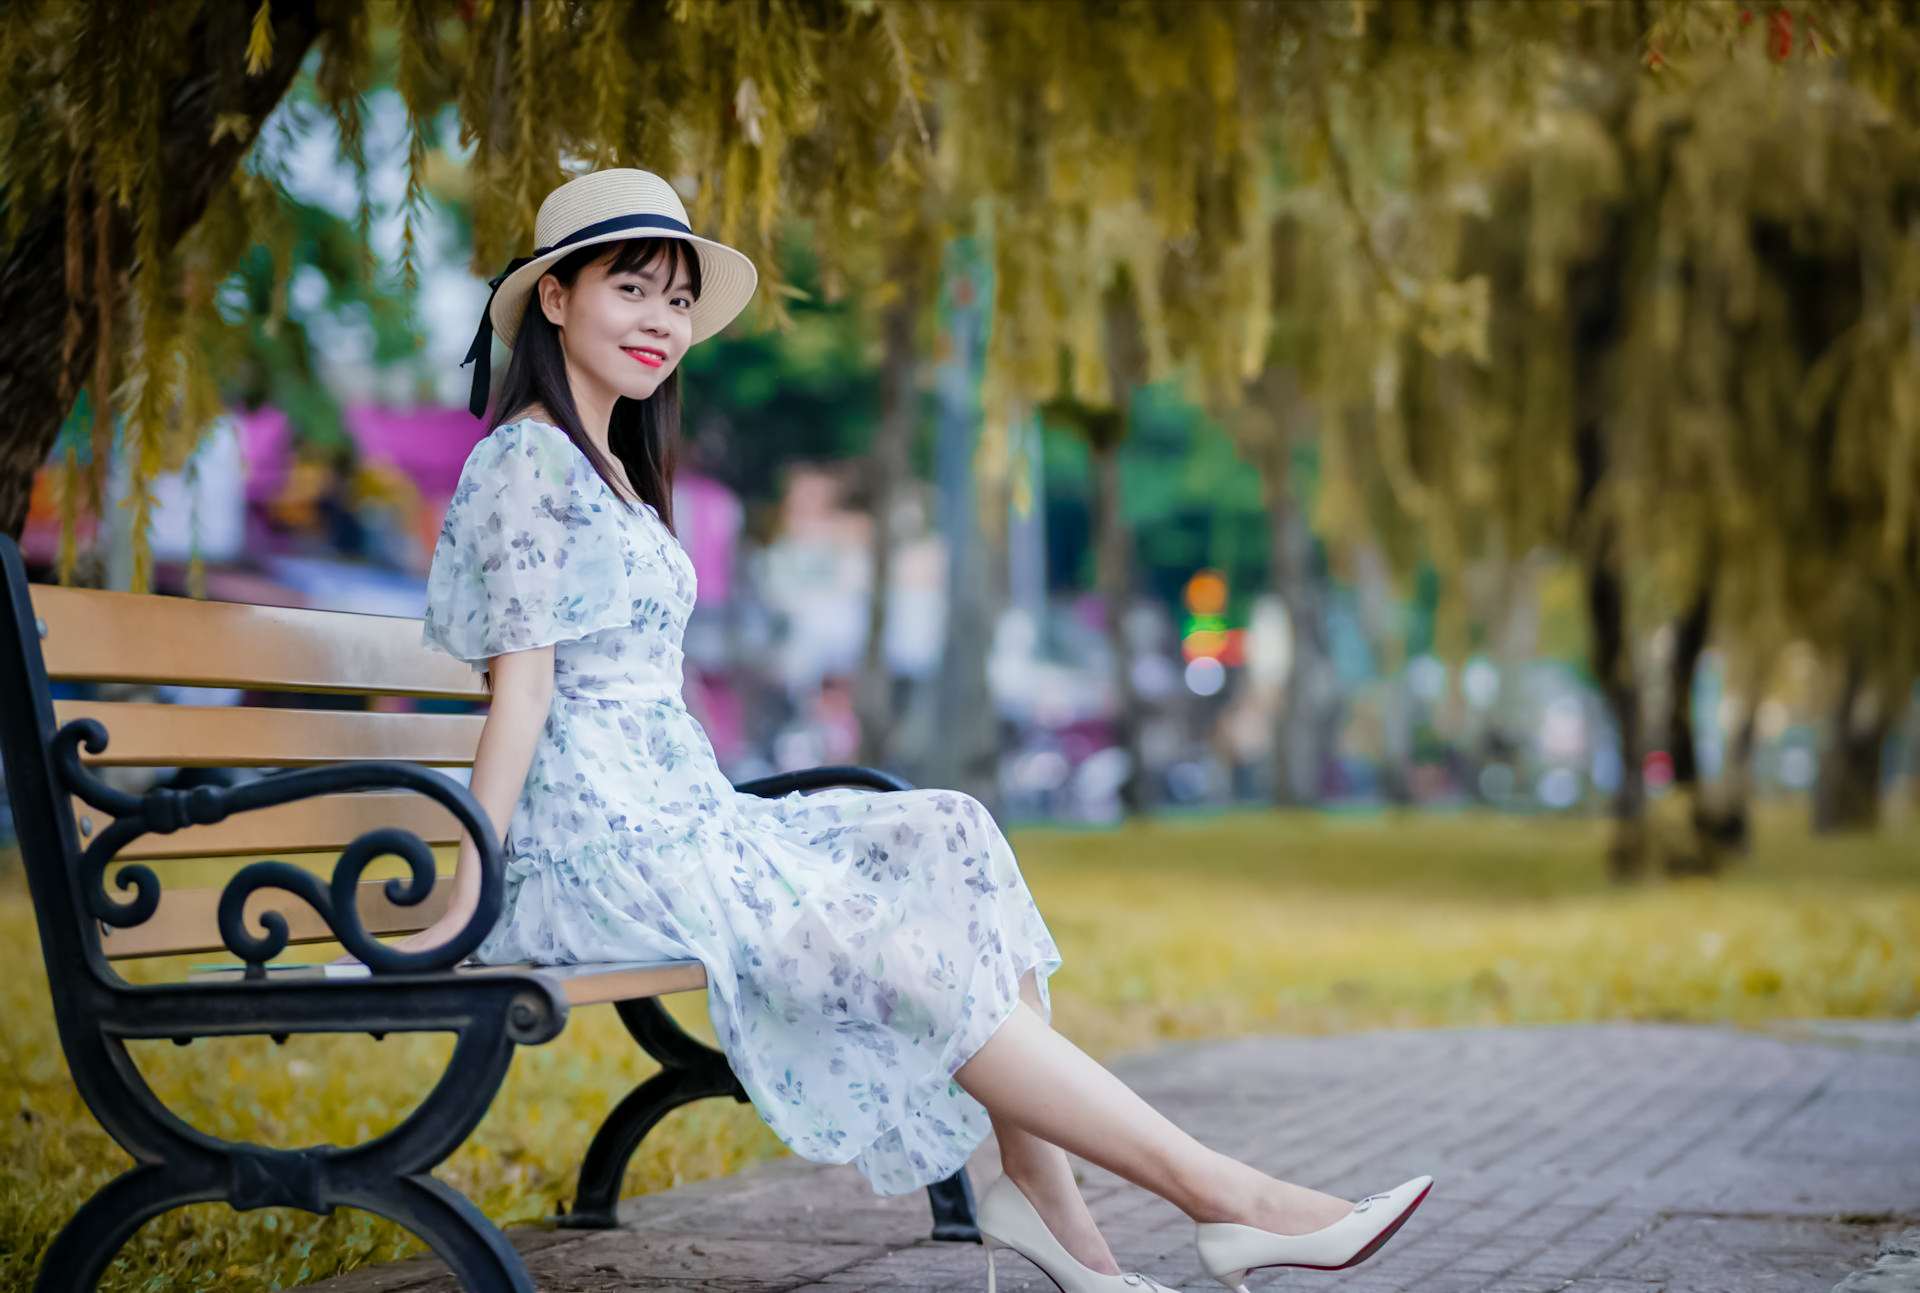
portrait lightroom presets
Natural Portrait Presets
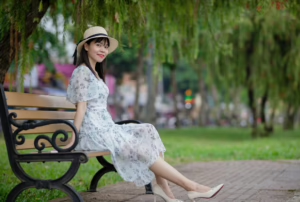
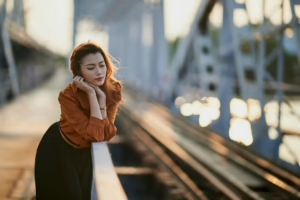
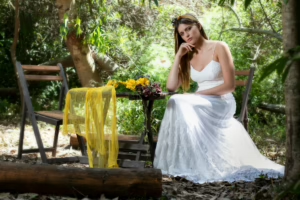
Portrait lightroom presets are perfect for skintones, balancing natural light and bringing out detail while keeping the image looking elements, allowing you to remain true to yourself. These mobile vintage presets add softness, warm and mild contrast balance with clarity keeping the natural look, great for professional photographers for a classic editing look for portraits, lifestyle photography just perfect well balanced clear and bright subjects.
Post Title :
portrait lightroom presets
Presets Name :
Natural Portrait Presets
Brand :
File Type :
DNG , .XMP
Compatibility :
Mobile, Windows, Mac
Price :
Free To Download
How to Use
Natural Portrait Presets
on Mobile ( iOS & Android ):
- Adobe Lightroom Mobile is downloadable from the App Store or Google Play.
- Download and unzip the preset files and you will get DNG on your iOS & Android.
- Open up Lightroom Mobile and either create/sign on an Adobe account.
- Import the DNG preset file: Launch Lightroom > tap three-dot menu > Import Presets > select the preset files on your device.
- Open a photo in Lightroom mobile, then swipe up on the checklist of presets at the bottom to view all associated with your account.
- You can now tap on the imported preset and a TOOLS-based organizer will pop up where you need to paste (“APPLY”) this specific preset on your photo.
- Make any adjustments if necessary and save/export your edited photo.
- How to Use Presets on Windows
- Unzip the downloaded files that will be in XMP format.
- Open the Lightroom desktop application.
- There, click on File > Import Profiles and Presets.
- Choose the folder containing your unzipped preset files.
- Tap Import to import the presets into Lightroom.
- 3> Open a photo, go into the Develop module, you wil see the Presets panel on left side and Look for the preset.
- Swipe the sliders to adjust pieces of the photo, then save off a copy of what you changed.
- How to use Presets on macOS:
- Download and unzip the preset files on your Mac.
- Open and select Lightroom desktop on your Mac.
- File — Import Profiles and Presets…from the top menu.
- Find the preset files on your Mac and open them.
- Press on Import to use presets in Lightroom.
- Open a photo in the Develop module and navigate to the Presets panel, choose a preset.
- Edit the photo to your liking when finished save it or export the edited version.
- Additional tips:
- If you sync your presets with Lightroom CC desktop, they will automatically appear on lightroom mobile when you’re logged in with the same Adobe account.
- This is a workflow option for consistent editing using Lightroom presets, no matter the device. The import differs slightly by platform but the process is simple on all devices. After you have the presets set, the rest is as simple as a click or tap for some big time savings when you’re editing.
Setting | Value | Descriptions
Basic Panel (Tone & Presence)
- White Balance ( Temp ) -10 Shifts the colour temperature towards cooler (blue) tones.
- White Balance ( Tint ) 0 No shift in the magenta/green axis.
- Exposure +0.16 A very light increase in overall image brightness.
- Contrast +10 A light increase in the difference between the light and dark areas.
- Highlights -60 Very darkens the bright parts of the image almost to recover detail.
- Shadows +40 Lifts the blackest parts of the image, almost completely recovers the shadows.
- Whites -20 The absolute brightest tones slightly reduced in brightness.
- Blacks -29 The absolute darkest tones slightly deeper, increases contrast.
- Texture 0 This adjustment eye-dropped onto a bright part of the dog’s fur. No change to fine details’ local contrast applied.
- Clarity 0 This adjustment eye-dropped onto a light part of the dog’s face. No change to mid-tone contrast applied.
- Dehaze 0 This adjustment eye-dropped onto the tree in the background. No de-haze/De-fog applied.
- Vibrance +9 Slightly saturated the less-saturated colours.
- Saturation +2 Very light increase in the saturation of all colours.
Tone Curve Panel
- Tone Curve Custom ‘S’ Curve Our custom curve is used, which only slightly brightens the brights and darkens the darks. A specific point adjust is shown for this photo.
HSL / Color Mixer Panel
- HSL Hue (Yellow) -18 The adjustment eye-dropped onto the leaf. Only slightly nudged the yellow towards green.
- HSL Hue (Green) -100 The exact same part of the photo was selected, and the green was pushed all the way towards yellow.
- HSL Saturation (Red) +8 Slightly increases the intensity of the Red colour.
- HSL Luminance (Red) +21 Significantly brightens the Red colour.
Colour Grading Panel
- Do not change anything here.
Detail Panel
- Sharpening Amount 0 No sharpening added.
- Luminance Noise Red 30 Reduces luminance noise ( graininess ) in the image.
- Colour Noise Red 25 Reduces colour noise ( coloured speckles ) in the image.
Effects Panel
- Vignetting Amount -15
Calibration Panel
- Do not change anything here.
